One way to increase your productivity as a developer is to know very well your IDE. Xcode is the IDE I’ve always used for developing iOS projects. While it still has some problems, and is lacking basic features such as Swift refactoring, it also has lots of cool features. Using Xcode faster and better is a great way to speed up a bit your development process, and keyboard shortcuts are the best way to start doing that.
For this article, I’ll be using the classic notations: ⌘ - command, ^ - control, ⌥ - alt (option), ⇧ - shift, ↑ - up arrow, ↓ - down arrow, → - right arrow, ← - left arrow. For the sake of clarity, I will be writing the letters in the keyboard shortcuts in capitals. This doesn’t mean that they have to be capital letters, lowercase letters are the ones you need in that keyboard shortcut command.
In my opinion, it’s very important to read this article just to inform yourself on what keyboard shortcuts you could use, and not try to learn them all at once. Trying to remember too many shortcuts at once could probably end up confusing you and decreasing your productivity and speed. Here are the shortcuts I use most often in Xcode.
Basic editor shortcuts
Xcode’s source code editor has all the usual keyboard shortcuts you would expect: ⌘N, ⌘O, ⌘S, ⌘C, ⌘V, ⌘X, ⌘Z, etc. All those are so common to almost every application and they’re spread system-wide, that I’m not going to waste time talking about them. (Small side note, I never use ⌘N in Xcode, because I prefer to right click the group where I want the new file to be placed and select “New file” there. This way, the new file will be created where I want it to, and I don’t have to move it myself afterwards in the group where it belongs). There’s also ⌘F for “Find in current file”, and ⌘⇧F for “Find in Project”. I use these pretty often. For indentation, there’s ⌘[ and ⌘] to indent left or right. Those are all very common shortcuts and not necessarily particular to Xcode. The ones that follow here are the Xcode specific ones I use most often.
Navigation shortcuts
You know how you can go back and forward in Xcode, to show the file you had opened before or the one you came back from? You can do that using the arrow buttons in Xcode, in the toolbar of the editing area.

You can also swipe with two fingers left or right in the editing area (unless you have a storyboard open and swiping left or right actually pans it). Swiping it also gives it a transition animation, which takes around one second. Not very efficient, but pretty cool. However, you can press ⌘^← and ⌘^→ to get the same result. And this comes without the animation (so, faster) and without moving your hands from the keyboard. I learnt this shortcut from Tobias Due Munk at an NSCoderNight some years ago.
Back in the days when we were doing Objective-C, there was also ⌘^↑ and ⌘^↓, to switch between the .h and the .m files of the same class. I’ve been using that a lot and I found it very convenient, but when I switched to Swift one and a half years ago I didn’t need it anymore.
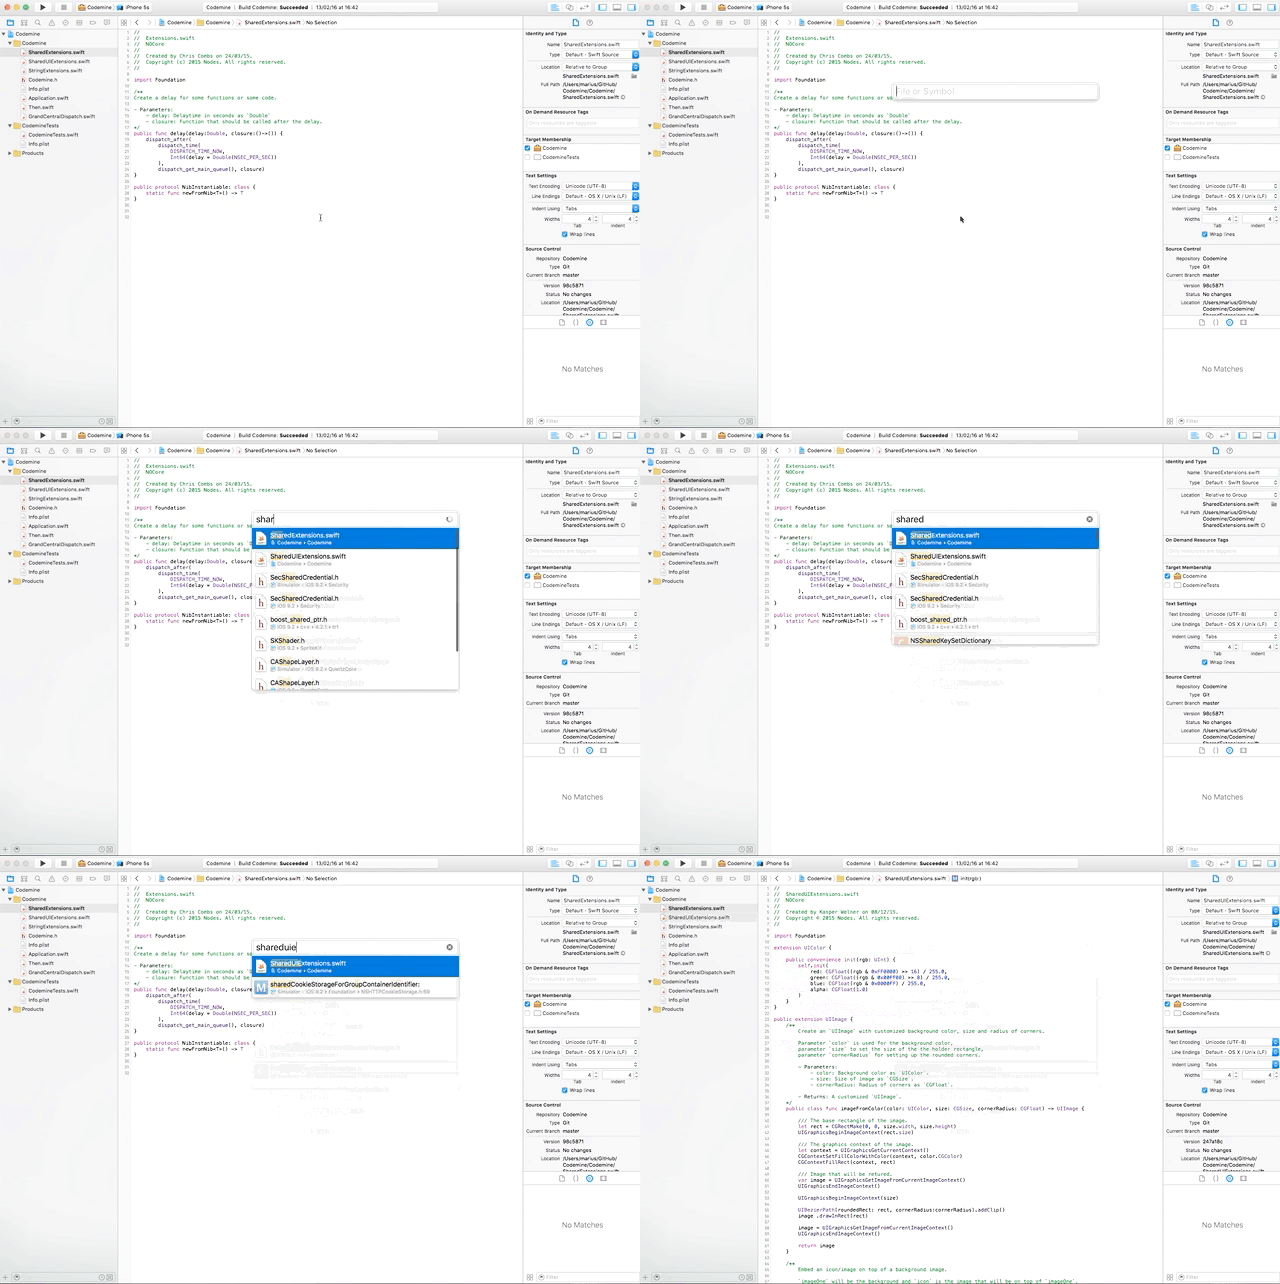
Probably the shortcut I use most is quick open: ⌘⇧O. This pops up a dialogue similar to Spotlight in macOS and searches for a file you want as you type its name. I find this a super convenient and fast way to open the files I need. This feature is a bit broken in the latest Xcode release (it seems that it still focuses on the file that matches your search string most closely, but the list of results is scrolled to a wrong position), but I hope it will be fixed soon. Even with this minor glitch, I still use it every time. I learned this shortcut from Kasper Welner when I started at Nodes.

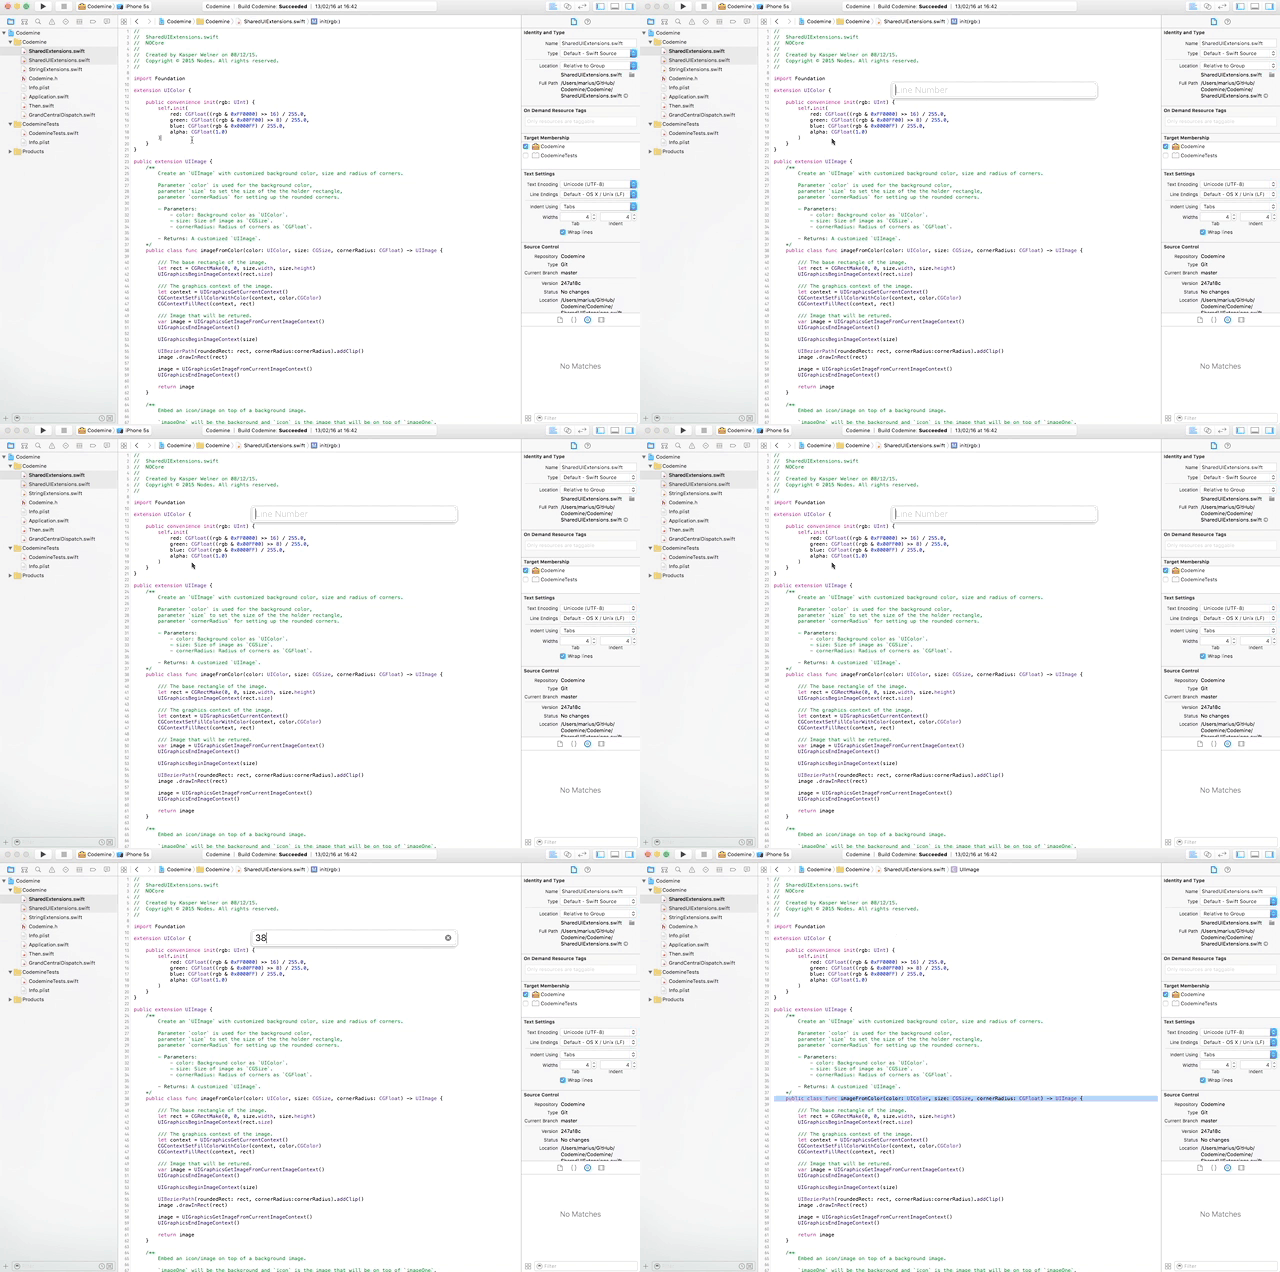
Another one I learnt from Kasper is ⌘L in a source file, which opens a dialogue similar to the quick open one, in which you type a line number, press enter and you’re taken to that line in the file you currently have open. Very handy when you know exactly which line number you want to go to, but that’s rarely the case.

Using the Assistant Editor
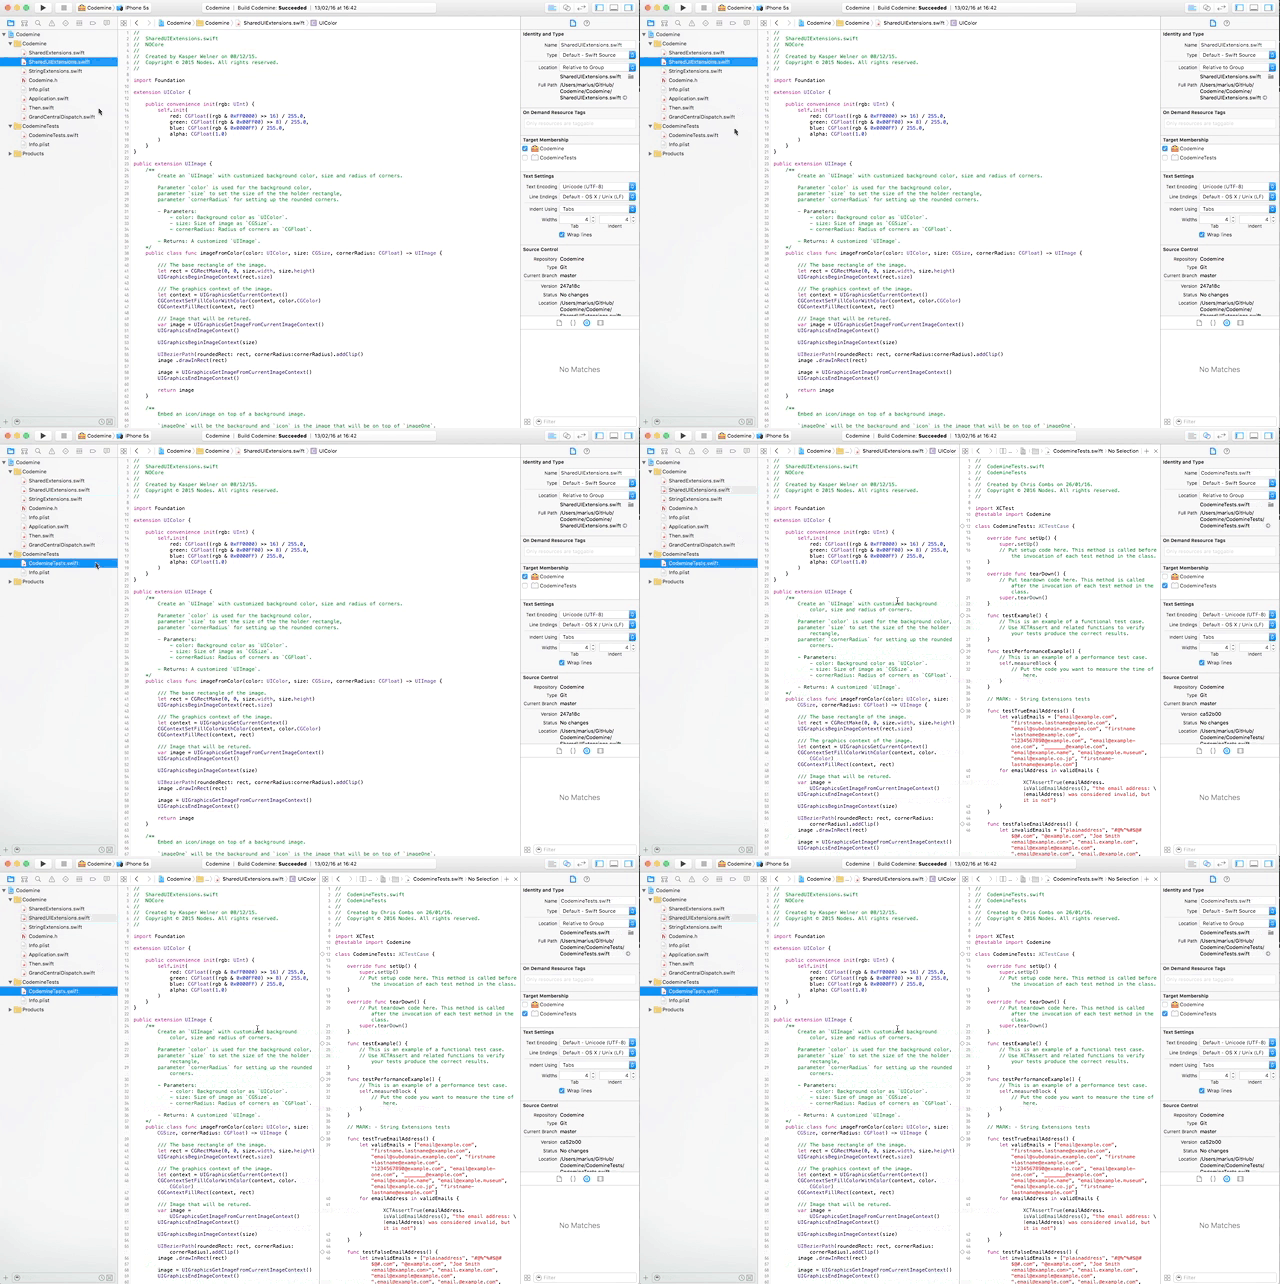
Xcode has this thing called the Assistant Editor, which splits the editing area vertically into two and shows a file on the right side. This is one of the most known features, even for beginners, because you use this to drag outlets and actions from Interface Builder. The special key that triggers the assistant editor is ⌥. ⌥ - click on a file and it will open in the assistant editor. Even if you don’t have the assistant editor open (the 2 column editing area), it will switch to that and open the file you right-clicked on the right side.

As in any IDE, you can ⌘ - click on a class or method to view its declaration (or definition). Well, in Xcode you can ⌘⌥ - click on a class or method to view its declaration in the assistant editor.
You can also combine the assistant editor with the quick open. ⌘⇧O for quick open, type the name of your class, then ⌥- enter to open it in the assistant editor.
To close the assistant editor and use a single - column editor view, press ⌘ - enter.
The assistant editor is great and I use it a lot. However, on a small screen, the assistant editor is annoyingly small, but on a big one, it can really make a difference.
Other editor shortcuts
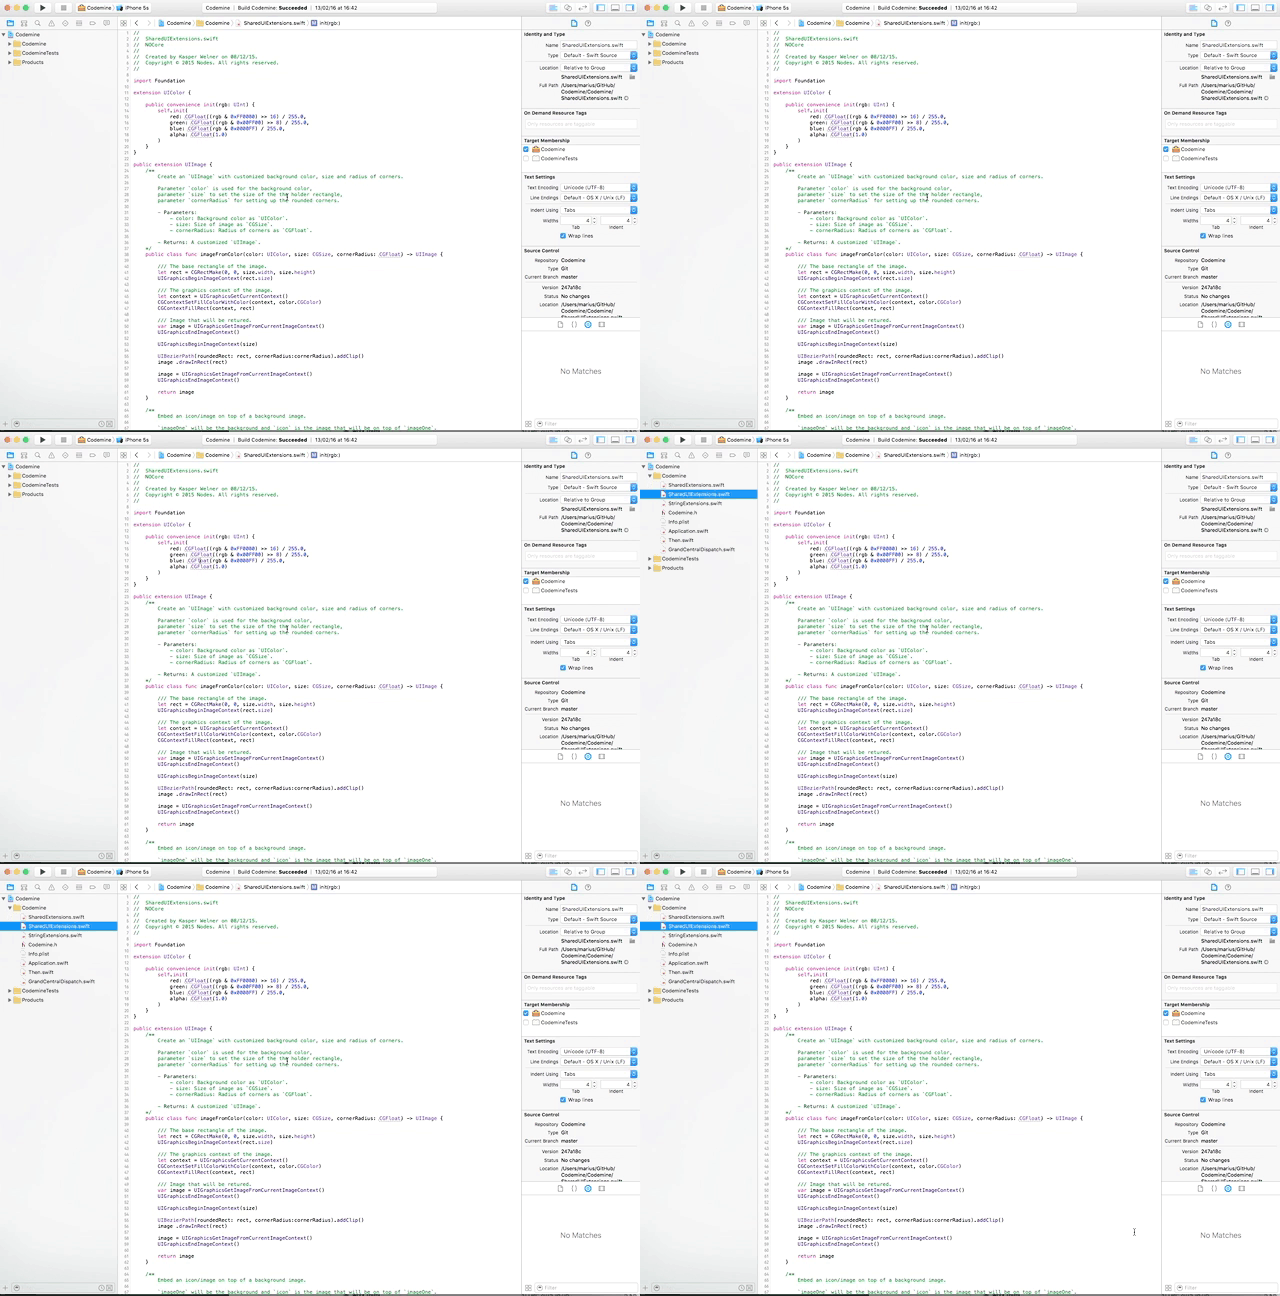
Using the quick open to open files means that you won’t always have the file you’re currently editing highlighted in the project navigation area on the left. If you want to see it there, you can always press ⌘⇧J to open any groups, subgroups necessary and highlight the file you’re currently editing.

You can ⌘/ on one or many lines to comment them. For me, sometimes, this keyboard shortcut fails, and I have to go to Editor - Structure - Comment selection. Then the keyboard shortcut works again. I don’t know what causes this, but I hope it gets fixed soon.
Product shortcuts
Now that we’re done with the navigation keyboard shortcuts, let’s go quickly through the Product ones. ⌘B builds the project. ⌘R runs the project. ⌘. stops it and ⌘U runs the tests (I thought of Unit tests to remembering this shortcut. ⌘T will just open a new tab)
Finally
That’s it from me regarding keyboard shortcuts as ways to improve your Xcode productivity. Again, I want to emphasise that trying to remember all the shortcuts at once after reading this article will probably accomplish nothing. So choose one or two shortcuts that you feel you need the most, remember them, use them as much as possible for 2 weeks or so, until they’ve become a reflex, and then come back and learn some more shortcuts.
Those are definitely not the only shortcuts. They’re the ones I use most. For a complete list of shortcuts, see Apple’s documentation